01
Trim work that belongs in the room
Good finish carpentry should look intentional from every angle. The scale of the molding, the relationship between door and window casings, and the way profiles meet at corners all affect the final result. We begin by looking at the room as a whole rather than treating each length of trim as a separate task.
The goal may be a quiet, clean finish or a more architectural composition. In either case, careful layout helps the lines continue naturally through openings, around windows and across adjoining spaces.
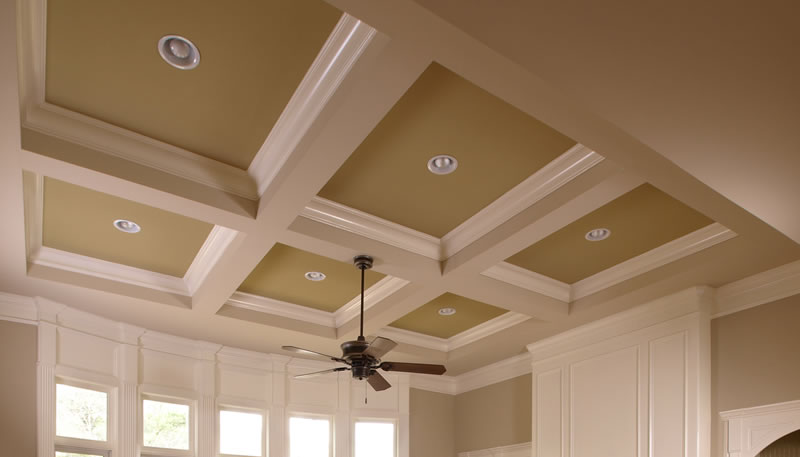
- Crown molding and ceiling transitions
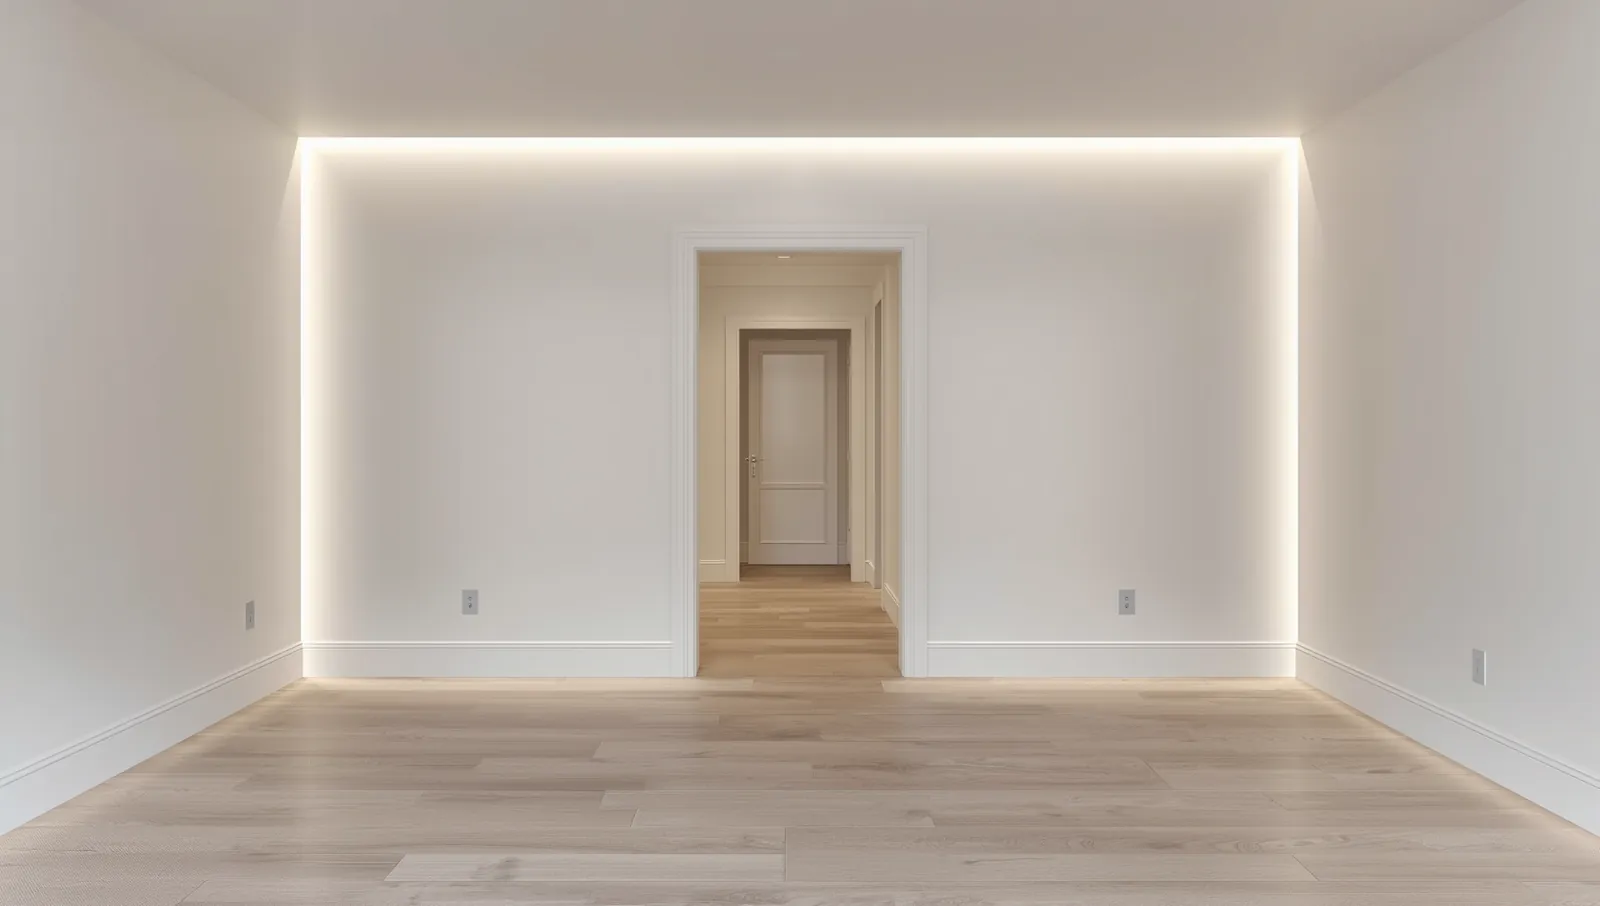
- Baseboards and shoe molding
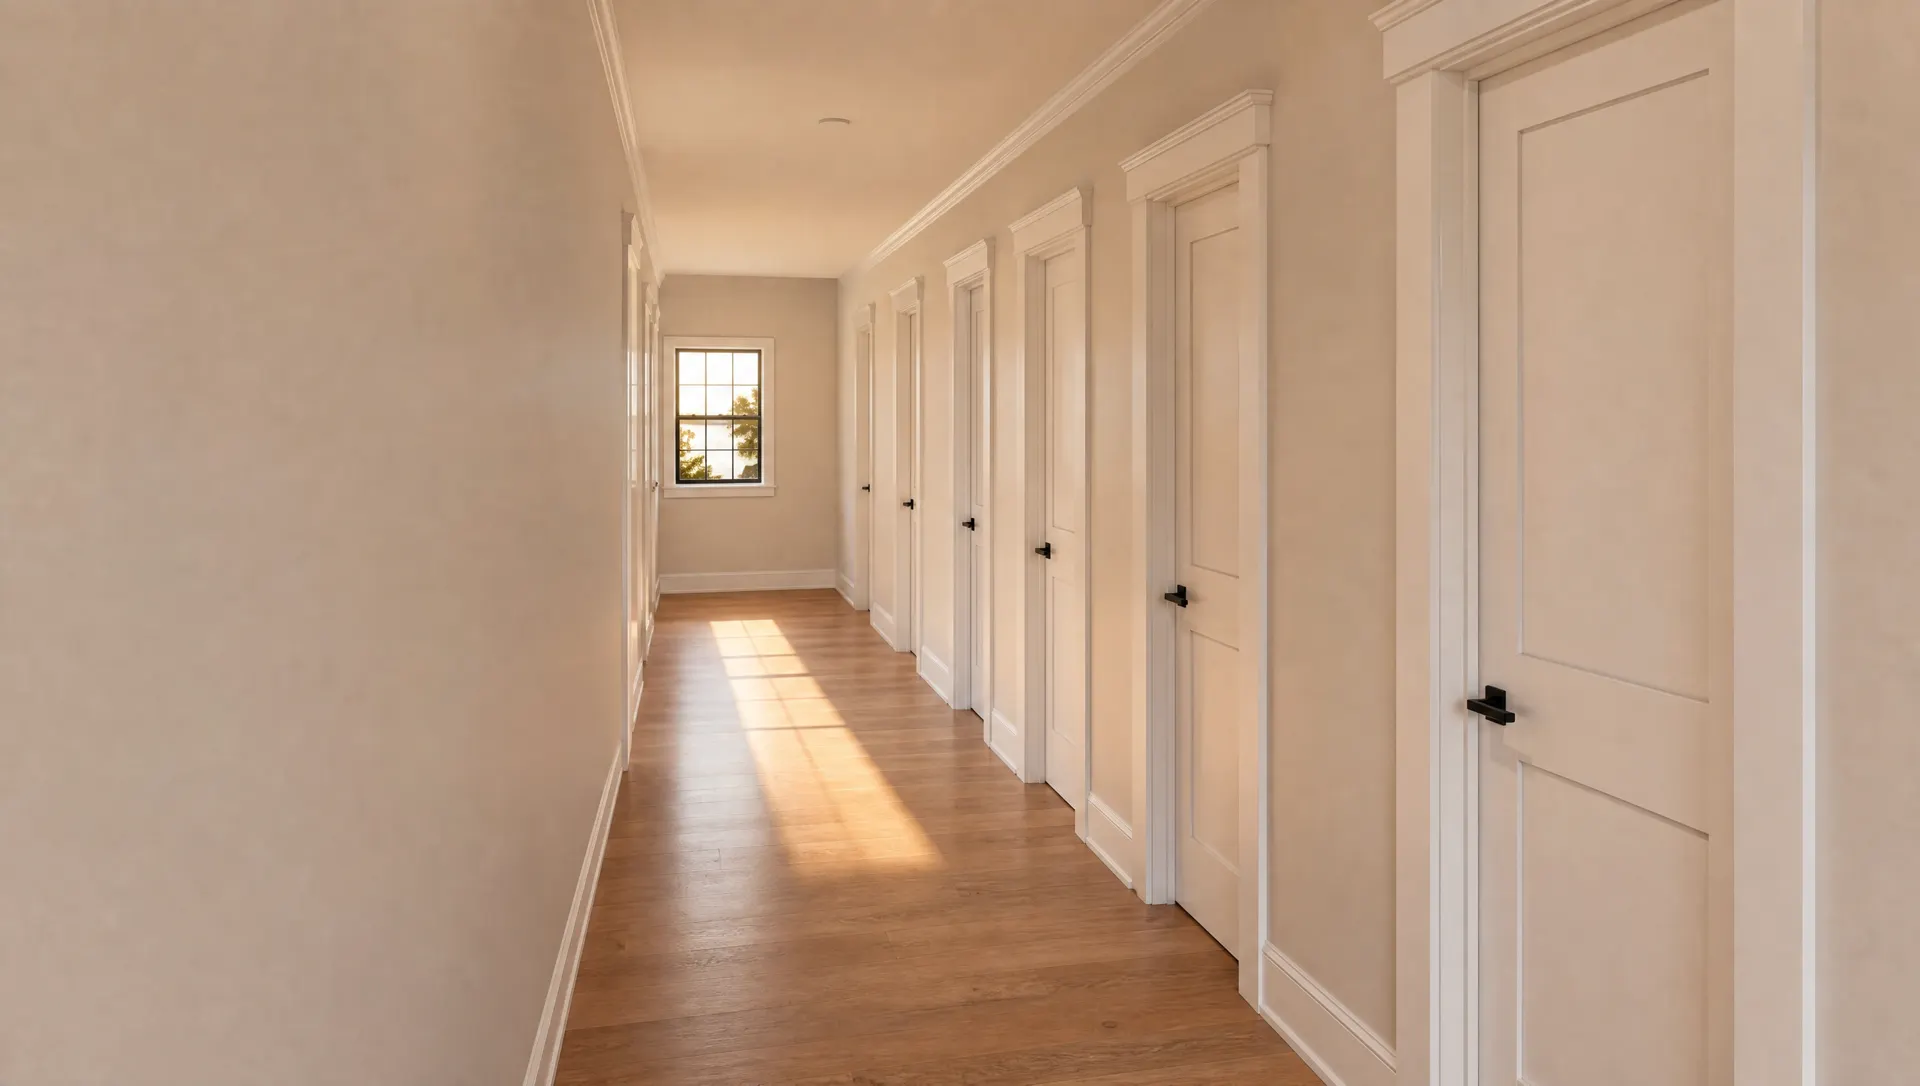
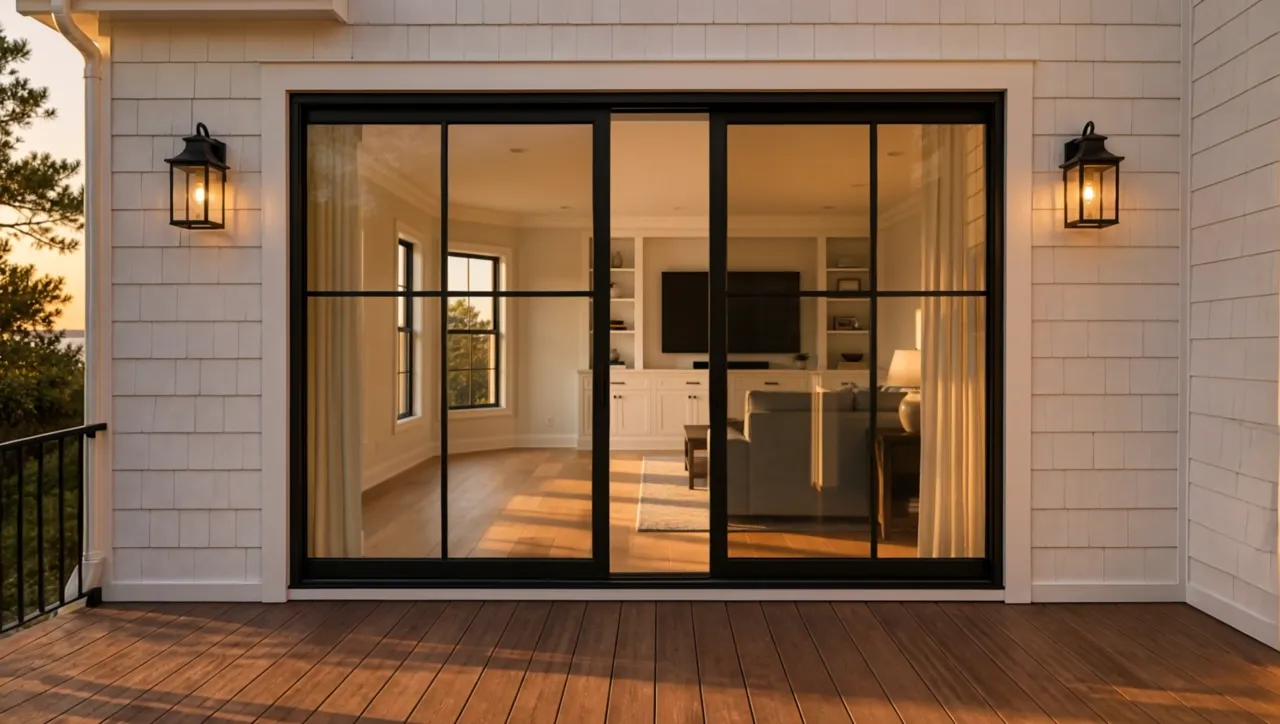
- Door and window casing
- Wall niches, beams and detailed finishing
02
Planning profiles, scale and transitions
A profile that works in one home can feel too heavy or too slight in another. Ceiling height, door style, window proportions, adjacent cabinetry and existing trim should all inform the selection. During the consultation, we review what is staying, what is changing and which details need to connect.
Transitions matter just as much as the main runs. Returns, outside corners, uneven walls and changes in ceiling height need a clear plan before installation begins. That preparation reduces awkward joints and helps the new work feel integrated with the house.
03
A clear finish-carpentry process
The process starts with a conversation about the room, the desired look and the practical constraints. We assess the space, outline the work, discuss materials and establish the expected sequence before craftsmanship begins.
After installation, the final-touch stage focuses on clean lines, edges and a polished overall result. A walkthrough closes the project and gives you an opportunity to review the completed work.