01
1. List what the built-in needs to hold
Start with real objects, not a general idea of storage. Record the television size, number of components, books, baskets, games, files or display pieces that need a place. Note which items are used daily and which can sit behind doors.
Fixed dimensions matter. A shelf that looks balanced in a drawing may not work for an amplifier, record collection or large art book. A short inventory gives the design a practical foundation.
02
2. Decide what should be open and what should be closed
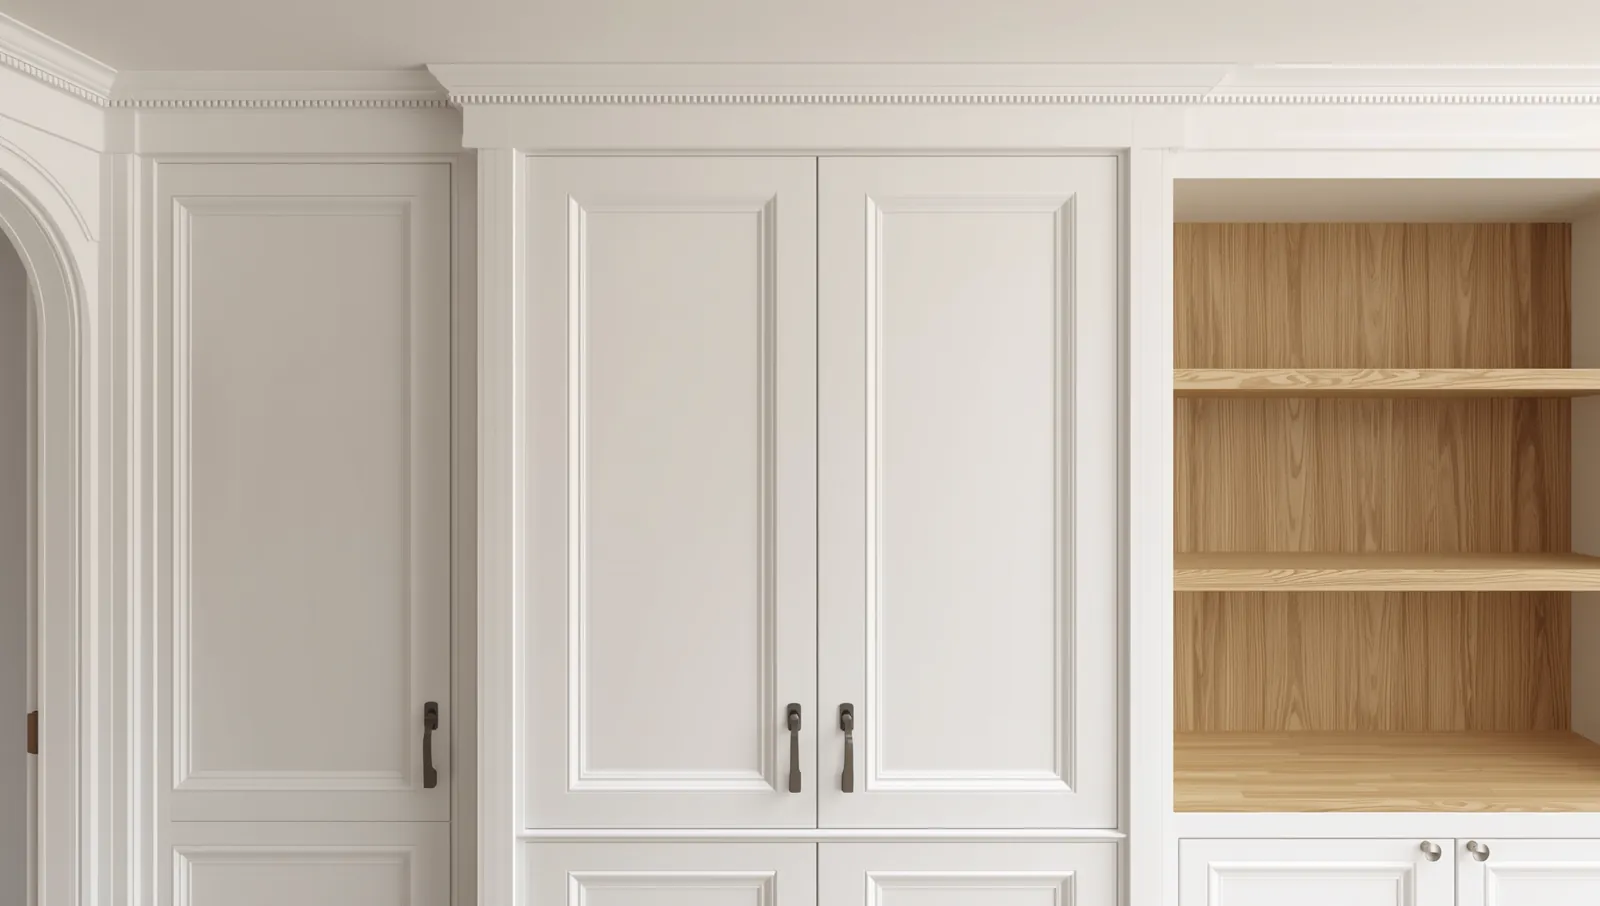
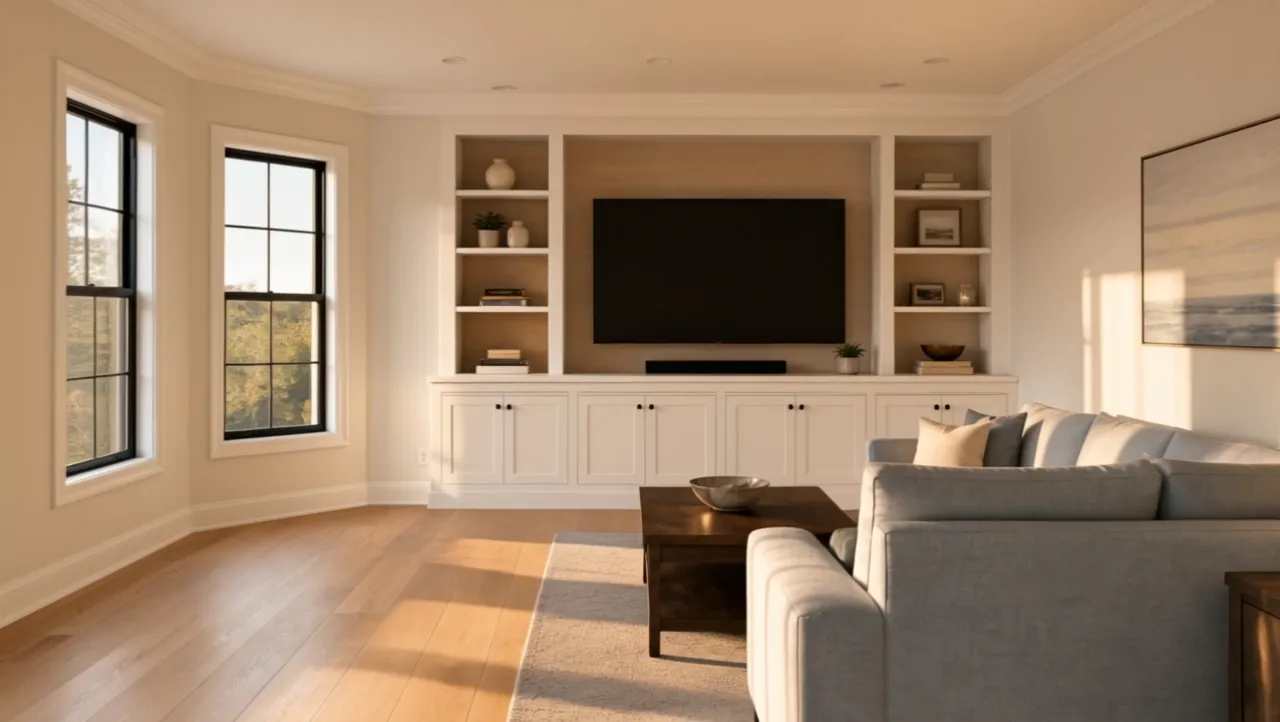
Open shelving is easy to access and can make a room feel lighter, but it also puts everything on display. Cabinets and drawers reduce visual noise. A combination often works best: open space for the items you want to see and closed storage for the rest.
Consider children, pets and cleaning routines. Low open shelves behave differently from doors or drawers in a busy family room.
03
3. Identify power, lighting and ventilation needs
Televisions, audio equipment, routers and integrated lighting need access to power and a route for cables. Electronics may also need ventilation and service access. Mark existing outlets and note equipment that cannot be enclosed without airflow.
These requirements should be planned before cabinets and shelves are divided. Retrofitting cable paths after construction usually limits the cleanest options.
04
4. Gather visual references with specific notes
Save a few examples and write down what you like in each one. It may be the door style, shelf thickness, mix of wood and paint, or overall proportion. References are more useful when they communicate a particular preference rather than an entire room to copy.
Also note what you do not want. That can eliminate options early and keep the conversation focused.
05
5. Leave final dimensions to the assessed space
Rough measurements are helpful for an initial conversation, but walls, floors and ceilings are not always perfectly square or level. Baseboards, crown molding, outlets, vents and adjacent doors also affect the fit.
The final scope should follow an on-site assessment. Bring your inventory, references and practical priorities; the measured design can then respond to the real room.